Cladding around a window reveal can be a challenging task, but with the right tools and materials, it can be done successfully. Here are the basic steps you can follow:
Measure the dimensions of the window reveal, and then cut the cladding material to size. Use a jigsaw or circular saw to cut the cladding material to the desired shape. We use SiteBuddyz CladBlades as they ensure a more accurate, cleaner cut and because they’re diamond tipped they can easily handle cement weatherboard that often blunts normal blades
Apply a layer of adhesive to the back of the cladding material, and then press it firmly into place on the window reveal. Make sure the cladding material is level and flush with the surrounding wall surface
Once the adhesive has dried, use a nail gun or screws to secure the cladding material to the window reveal. Start at the top of the window and work your way down, spacing the nails or screws evenly along the length of the cladding.
Fill any gaps or seams between the cladding material and the surrounding wall surface with a suitable caulk or sealant. Smooth out the caulk or sealant with a caulking tool or your finger.
Finally, paint or finish the cladding material to match the surrounding wall surface. Use a paintbrush or roller to apply a coat of primer, followed by one or more coats of paint or finish.
Cladding around a window reveal requires patience and attention to detail, but it’s worth the effort to give your job a perfect finish.
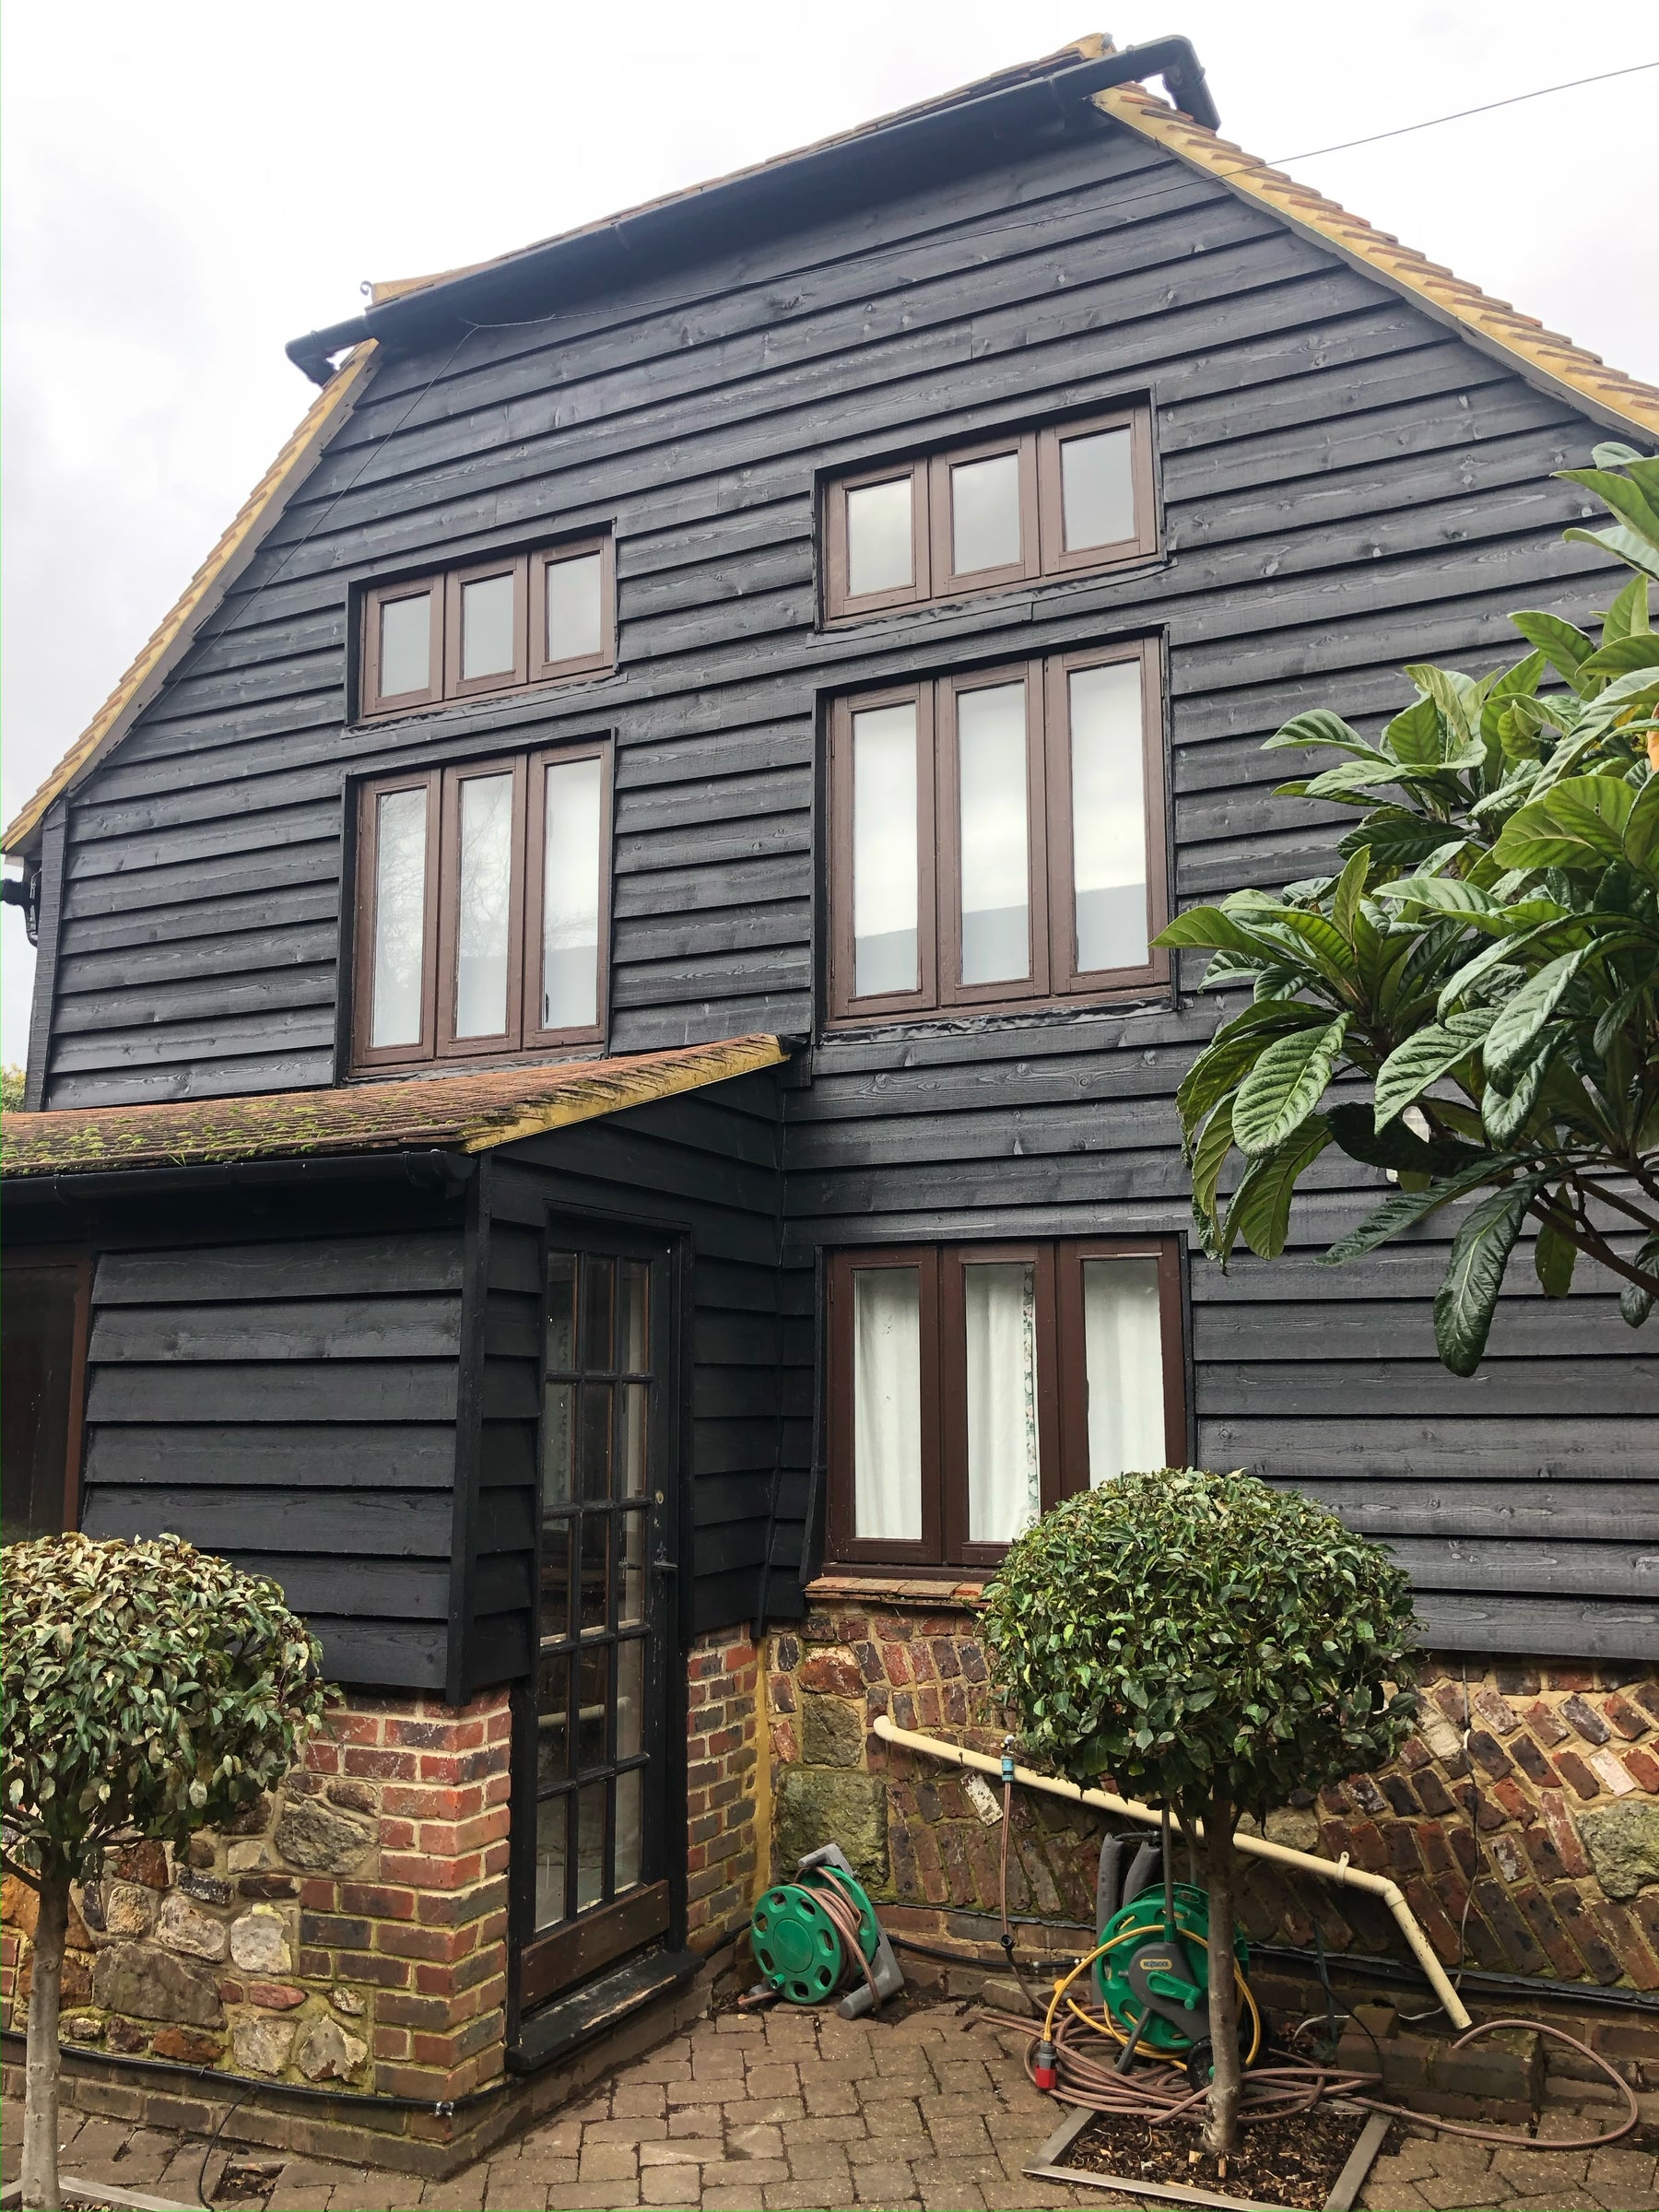
Check out some of these tips in action on this recent job we completed in Arundel.